 Email
Email Linkedin
 WhatsApp
News
Learn about our real-time dynamics


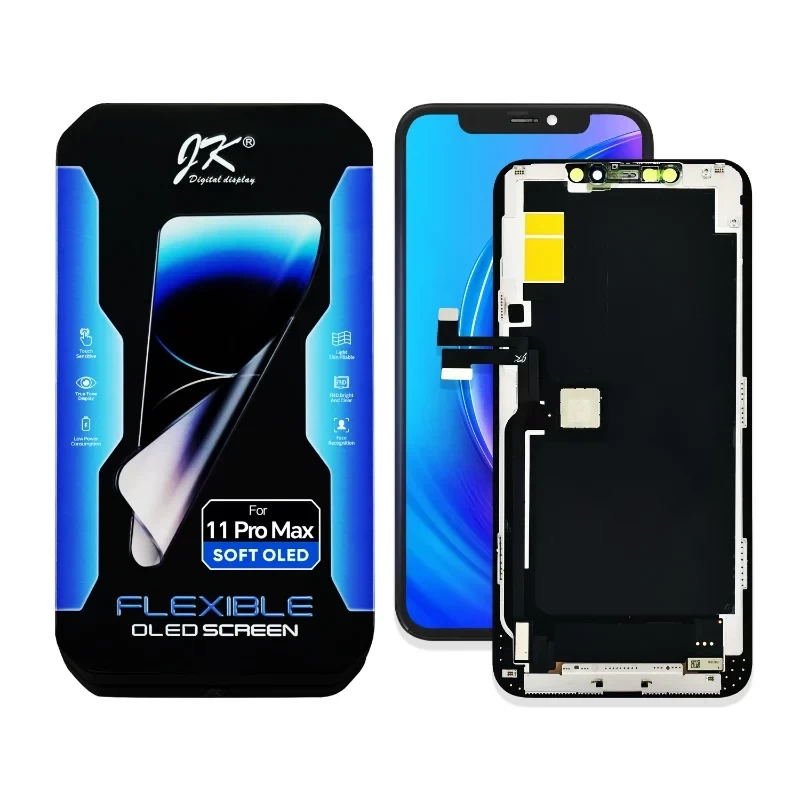
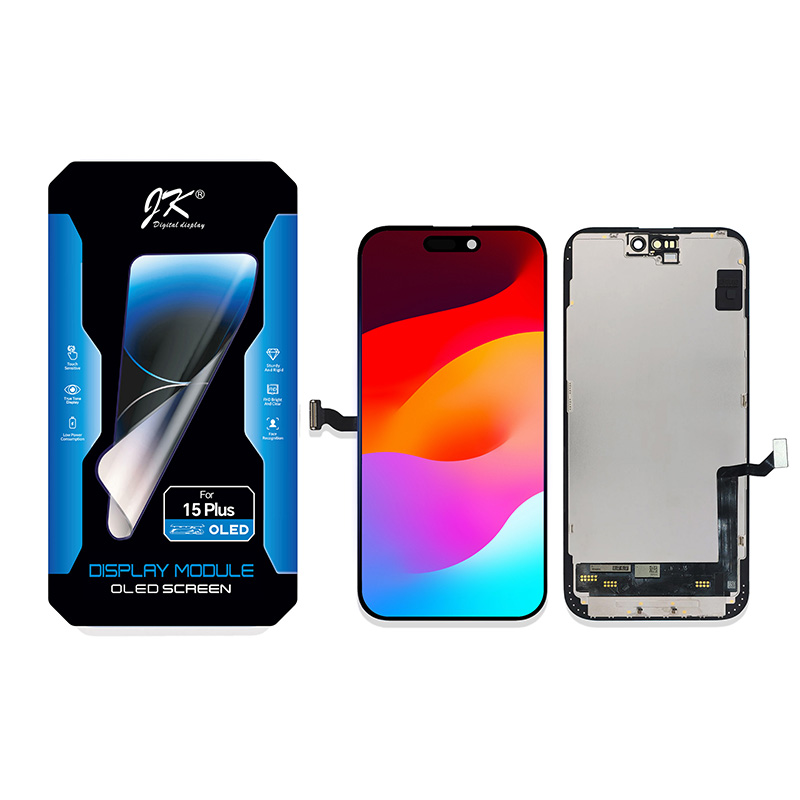
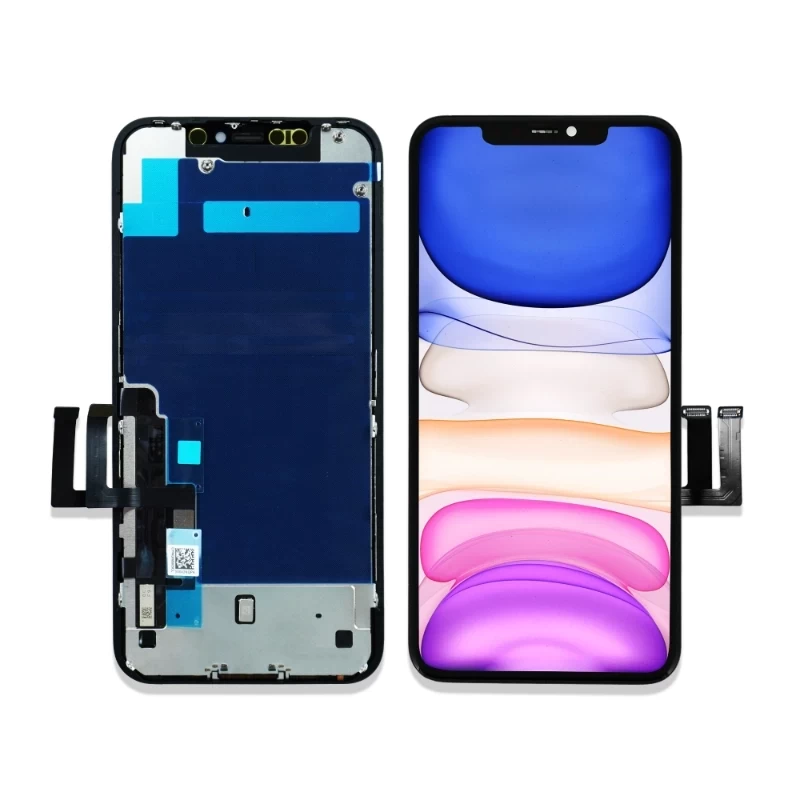
Replacing an iPhone15 screen can seem daunting, but with the JK FHD-iPhone15 screen from kelai (brand: JK), the process becomes straightforward, efficient, and reliable. This guide focuses on step-by-step instructions, best practices, and tips to ensure a safe and high-quality screen replacement, ideal for both professional repair shops and experienced DIY users.

Before starting, ensure you have a clean, well-lit workspace and all necessary tools:
Precision screwdrivers (Pentalobe, Phillips)
Suction cup and plastic opening tools
Tweezers
ESD wrist strap (recommended for safety)
JK FHD-iPhone15 screen replacement module
Tip: Organize screws and small components in a labeled tray to prevent loss or confusion during reassembly.
Always turn off your device completely before starting the repair. This prevents short circuits and ensures safety during disassembly.
Remove the two Pentalobe screws located at the bottom of the iPhone15.
Use a suction cup to gently lift the screen, creating a small gap.
Insert a plastic opening tool along the edges to carefully separate the display from the frame.
Open the phone slightly, being careful not to strain the ribbon cables connecting the screen to the logic board.
Remove the internal screws securing the metal shield plate over the display connectors.
Carefully disconnect the battery connector first to prevent electrical damage.
Disconnect the display, digitizer, and front camera connectors.
Tip: Always handle connectors gently with tweezers to avoid bending pins or damaging cables.
Once all connectors are safely detached, the old iPhone15 screen can be removed. Inspect the device for any debris or adhesive residue, and clean the frame if necessary to ensure proper installation of the new JK FHD module.
Connect the display, digitizer, and front camera cables from the JK FHD module to the logic board.
Reconnect the battery connector.
Test the screen functionality before sealing the device:
Brightness and color display
Touch responsiveness
Front camera and Face ID functions
Screen Features to Verify:
Screen Size: 6.1 Inch
Resolution: 1179×2556
Brightness: 750±50 Cd/m²
Contrast Ratio: 1400:1
NTSC Coverage: 90%
Color Temperature: 6500K
Viewing Angle Range: ALL(o’clock)
TP Structure: In-cell
Backlight Structure: LED Backlight
After confirming full functionality:
Secure the metal shield plate over the connectors.
Carefully align the screen and press it into the frame.
Replace the bottom Pentalobe screws.
Tip: Apply gentle, even pressure along the edges to avoid gaps or pressure points on the display.
Verify touch functionality across the entire display.
Check brightness, color accuracy, and Face ID performance.
Ensure the screen fits snugly with no loose edges or gaps.
Replacing your iPhone15 screen with a JK FHD module from kelai ensures high-quality results with precise color, brightness, and touch performance. By following this step-by-step guide, repair professionals and skilled DIY users can complete replacements efficiently and safely, restoring the device to near-original condition while maintaining reliability and longevity.
Using JK screens allows repair shops to serve more customers efficiently, providing a trusted, high-quality solution in the global smartphone repair market.

 Leave a Message